Since the Summer School the minutiae of everyday life seems to have been getting in the way of progress on my Diploma so this section contains some of my recent course related work - just to show there has been some thought and work going on in the background...in fact, as you can't go far without seeing a gull, I find myself constantly thinking about them.
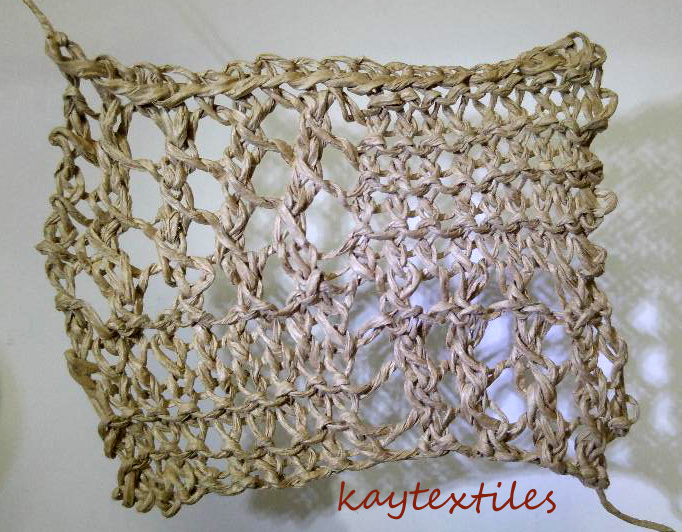
When my Foundation/Taster coursework was displayed at the Summer School I realised how blocky and disproportionate I found my second resolved sample, Foundation Module Image 70,
so I took it apart and reworked it as three pieces, each containing one of the pieces of paper yarn weaving and adding dense kantha stitching. The result is more pleasing in many ways, primarily that you take one apart and get three better ones! (Foundation Images 75 -77, each approx. 23cmWx43cmH).
At the end of July after attending an inspirational talk on Fabulous Surfaces by
Lynda Monk I returned home to find a space had become available that weekend (due to illness) on her two day Fabulous Surfaces workshop at the
Craft Arena. Deciding it must be meant, I booked. Three of the techniques sampled during the weekend used design work from my Diploma.
Diploma Image 56 - both positive an negative images from the design - used to make a sketchbook cover.
Images 187 and 188 - sketchbook covers in progress. Procion dyed pelmet vilene, dressmaking pattern tissue paper (Vogue works best) and heat transfer foil. 29.5cmWx21cmH.
Image 189 shows a piece which is a development of Image 177 using heated Tyvek pieces on duck cotton canvas machine quilted on a base of thick blanket. Gull patches, hand-stitching and needle weaving have also been applied.
This was then coated with gesso (Image 190),
and painted with Koh-i-Noor dyes (Image 191).
Big mistake, so I gave it a coat of household emulsion to hide the error of my ways and then carefully rubbed it with an Deep Indigo 1100 Inktense Pencil. The mistakes are coming thick and fast, as in hindsight I should have used a Markal Paintstik as, so far, after trying many products I have been unable to make the Inktense pencil permanent. Once Inktense has been wet and then dried again it is permanent but if I wet this piece it will spoil the look of it as I love texture the dry Inktense is giving me and the marks it is making on the surface. Each time I touch it I get blue fingers...so I'm trying not to touch it.
Returning to Image 51 which used distressed muslin, another technique bonded muslin on to Tyvek which provides textural distorted muslin. This was applied to a background as described for Image 189, plus gesso, and gives wonderful surface texture. Image 193 shows the surface of the piece.