Sunday 29 October 2017

Diploma - Chapter 4 - Relief Paper Surfaces with Starch Paste

I chose to use the ancient method of decorating papers with starch paste using the recipe in the notes (made from wholemeal flour, hence the added texture) rather than a more contemporary medium, as I'd used many of these in Module 1.  Designs were based on the both the patterns observed in Opus Anglicanum embroideries and those from medieval manuscripts. All the samples show are about postcard size and have a base of either cereal box card or Amazon envelope card to give some stability to the layers of paste.  Then,

  • each surface was given an initial coating of white matt emulsion to both seal the card before the starch paste was applied and also to give a medieval look,
  • brusho was used to colour the paste in all but the last sample, ultramarine for the first layer and gamboge for the second, 
  • the paste was spread with a small squeegee and marks were made with mini bamboo skewers - both the sharp and blunt ends, cardboard edges with shapes cut and cocktail sticks. Metallic layers were added as detailed below.  
Better marks were obtained when the paste was spread less thickly. This also had the advantage that the paste dried quicker.  Letting the paste dry naturally lessened the curling of the edges of the card.

Sample 1

Metallic - PlayArt silver wax crayon and copper metallic rub-on on right hand side only


Sample 2

Metallic - gold acrylic applied with dry sponge and then wiped off in places with wet cloth


Sample 3

Metallic - graphite stick


Sample 4

Metallic - copper Neocolour2 


Sample 5

Metallic - PlayArt silver wax crayon


Sample 6

Metallic - copper and silver Derwent metallic crayons


Sample 7

Metallic - PlayArt copper wax crayon


Sample 8

Metallic - Stabilo gold crayon, green and red metallic rub-ons


Friday 6 October 2017

Loose ends...or early Spring Cleaning

Historical Study

When collecting my historical research there had been no trace of gulls.  Since then, and thanks to 'Birds in Medieval Manuscripts by Brunsdon Yapp', one has been sighted in the Alphonso Psalter and I understand there are others.  Yapp explains the lack of seabirds in manuscripts as being due to the fact that after the plundering of Lindisfarne in 793 there were no known centres producing manuscripts on the English coast.  With this new find, additions have been made to my study.

MM65 - medieval gulls have been added to MM11 (which was infact just a study of a medieval fragment which I thought might prove useful...sorry this originally had you confused Sian).


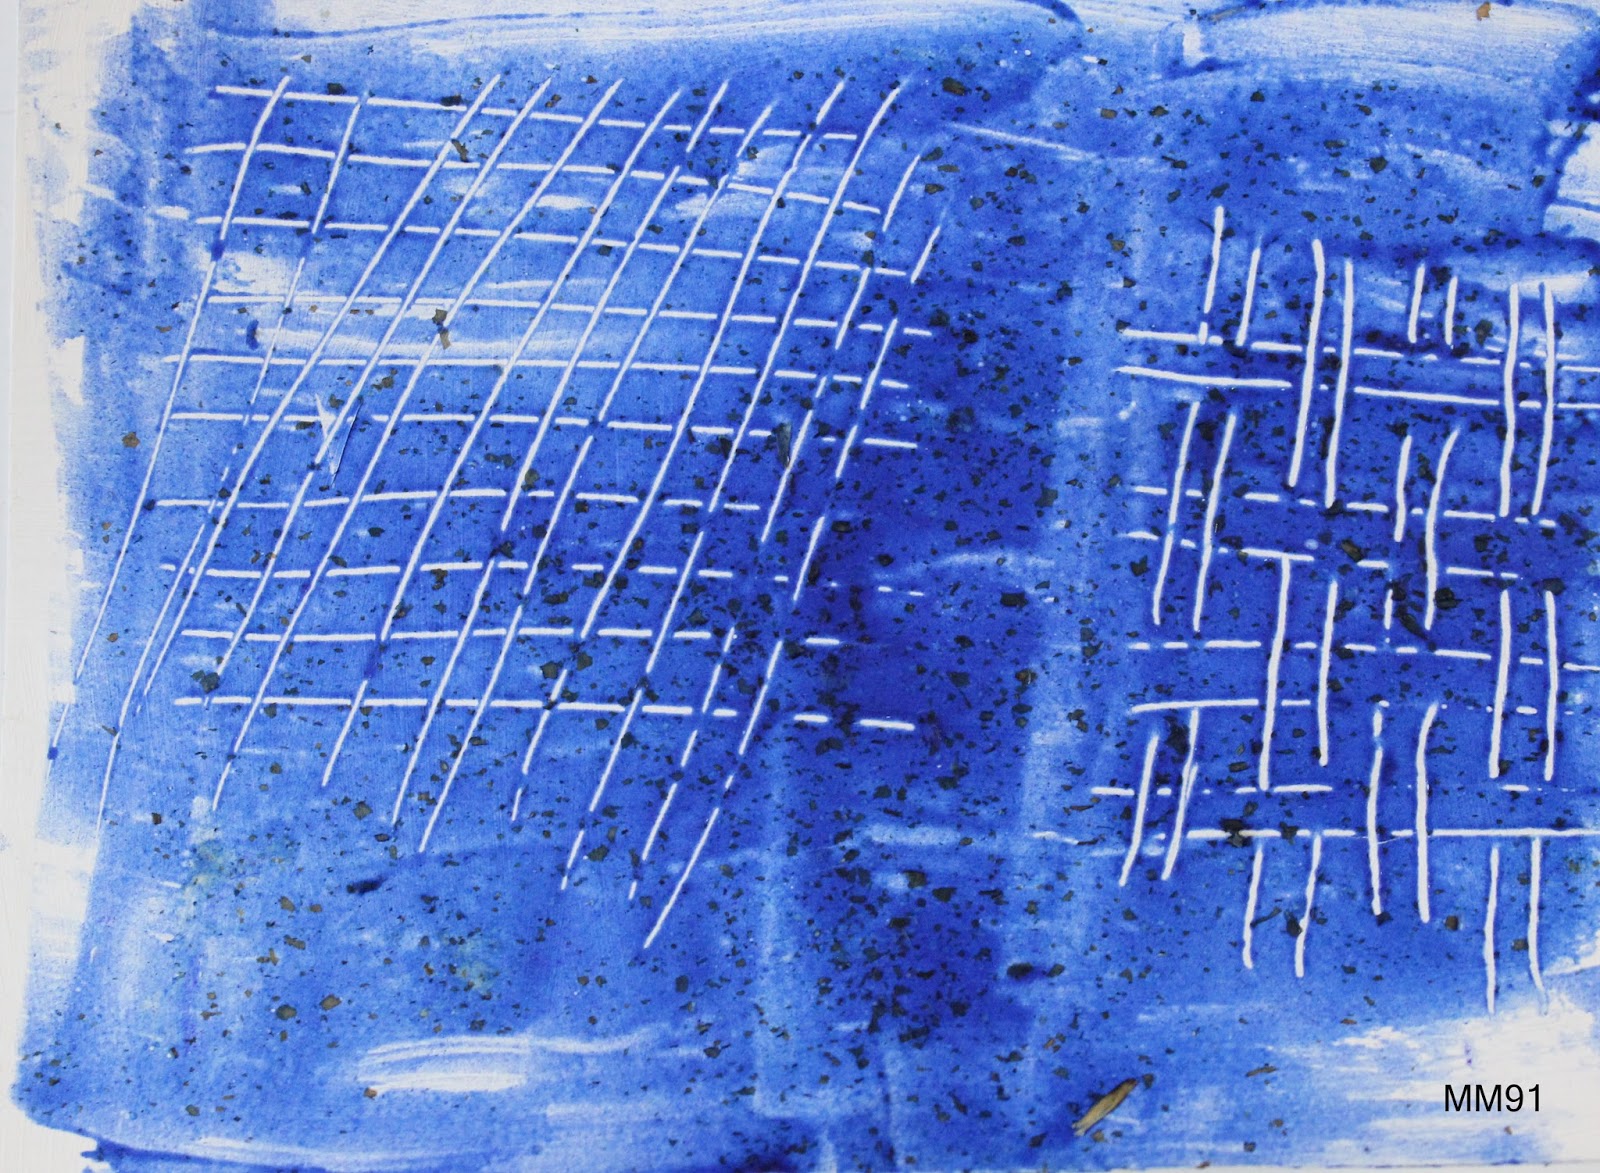
Using this and other medieval design sources, a polystyrene print block was made (MM66).


This was tested on brown paper using Reeves Burnt Umber acrylic.  As I am still working with paper, where possible, I oiled and scrunched this print using baby oil.  When 'dry' this was coated with acrylic wax and stitched with metallics (MM67,68).


On a base of Seawhites of Brighton Yellow Ochre acrylic and again using the print block and Reeves Burnt Umber acrylic, papers were printed to bind the historical study (MM69,70)


and end papers reversing the colourways (MM71).


All the binding papers were oiled with baby oil to enrich the colours.  When 'dry' they were mounted on card and the pages to date bound using brass binding screws and posts. As there was some seepage of the oil, even though it looked dry, a sheet of baking/greaseproof parchment was inserted between the cover and the pages.

Revisiting Ideas

As I said above, I'm still looking at using papers and translucency.  Sian, was it really as long ago as June 2016 you suggested I look at the work of Cas Holmes! Earlier this year I was fortunate to see her exhibition at The Farnham Pottery.  What work and what a setting for it.  Lovely.

The next two samples (MM73 and 75) follow from that suggestion and my previous design work,  Module 1, Image 292.  A slice of this image was ripped, oiled and scrunched as was a piece of copy paper.  This was laminated onto Anthropologie tissue (I'm sure I'm not the only person who gets more excited by the wrapping of a parcel than the contents) using acrylic wax.  MM72 shows the background made for sample MM73.  When both samples were stitched they still looked a little stark in places so a gave them a rub with a Koh-i-Noor Graphite Stick to highlight the ridges in the paper and tissue.


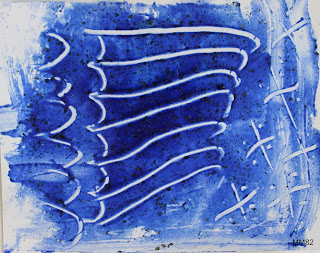
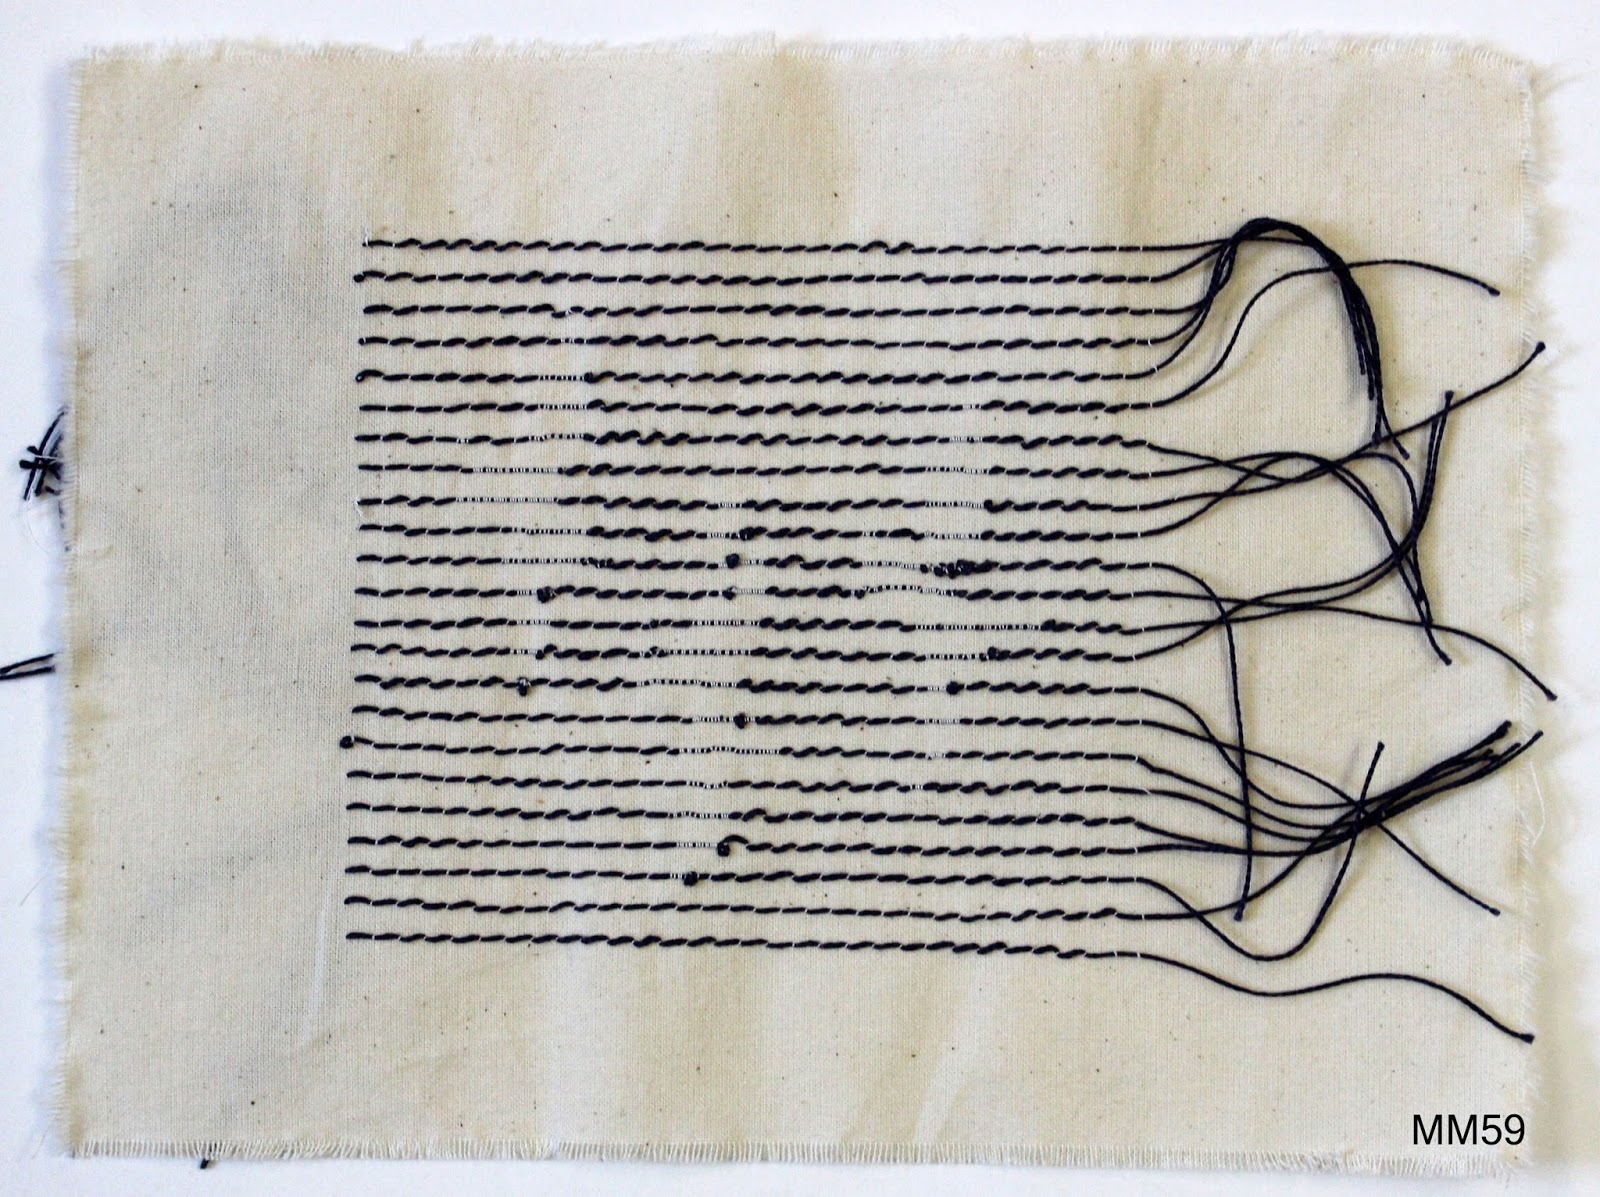
 Fragment 1 -  ANTHROP - 19cmWx18cmH


Fragment 1 - detail.


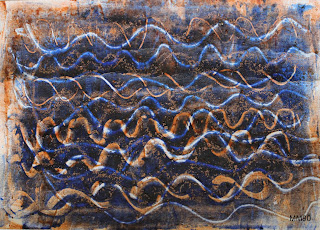
Fragment 2 - OPOLGIE - 19cmWx18cmH

Looking at these samples, for me there are things that work and things that don't.  The straight pieces of black applique don't work, but the gull-like ones, that aren't too heavy, do...particularly some of the pieces on Fragment 2 where the black sheer has been rolled thinly by stitches.

Summer School 2017


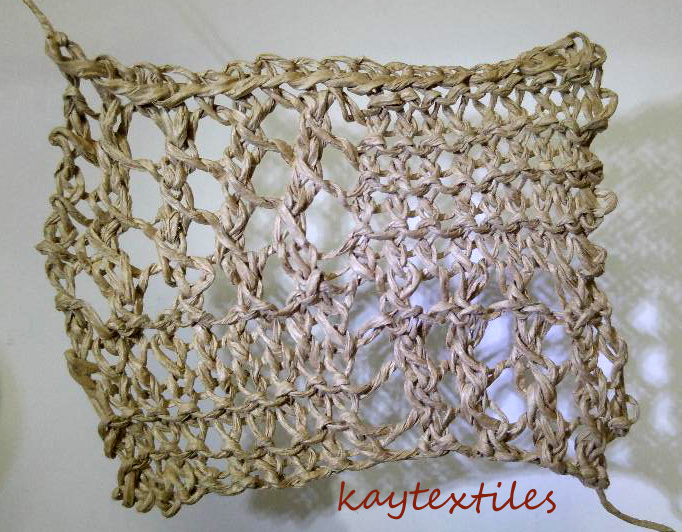
Just one of the many samples from the wonderful time we had with Gwen Hedley.  
Many thanks once again Sian.

Diploma Module 2 - Chapter 3 - Underside Couching Machine Methods

This was my first attempt at using machine cable stitch to make patterned surfaces simulating underside couching. I filled a bobbin with #8 Finca perlĂ© and loaded it in the bobbin case. Having the luxury of two bobbin cases for my Bernina, I turned the tension screw until the perlĂ© flowed freely (1.75 turns).  I started with a few warming-up samples altering the stitch lengths, types and varying the starting point of the first stitch, noting the machine settings on the samples for future reference (MM52-57).


Then, using one of my gull designs I made a linear sample, reducing the stitch length for the gulls (MM58-59).


Using the same design and free machine stitching (MM60-61).


Reverting to the gull design used in the handstitched underside couching (MM47) and a similar background, I machine cabled a sample using DMC Fil Or in the bobbin and Dewhursts Lt Cream 40 (D16) on the top. The length of the stitch was varied between 3 (background) and 1 (gull).

MM 62 - front - the gull appears very golden as the acrylic used to paint the canvas is showing through the machine stitching.


MM63 - back


MM64 - enlargement of back


MM51 - enlargement of back of handstitched underside couching


Comparing the machine stitching using cable stitch to give a representation of underside couching versus handstitching, it is undoubtedly quicker to work but to me there is no comparison as the character that can be produced with handstitching is missing and the result is altogether flat and lacking in vibrancy.