Starting to collect items to be used for contemporary shisha, my first sample (MM146) was made using metal caps from the corks of champagne, prosecco, cava, etc bottles. Though the metal caps have four ridges which would obviously assist with the anchoring stitches, I was more concerned in this sample in using different decorative stitches once the cap was in place.
The background gives continuity from the Opus Anglicanum samples, i.e. calico brushed roughly with dilute emulsion, gelli printed and waxed with paraffin wax to give the backing stability. Once the caps were positioned/decoratively stitched, I couched down part of the muselets/wirehoods (the metal cages from around the corks) and blanket stitched over sections of their circular sections. Finally holes were made in the waxed calico with an awl.
The decorative stitches/techniques used were:
- needleweaving
- spider's web, open worked and ribbed spider's web
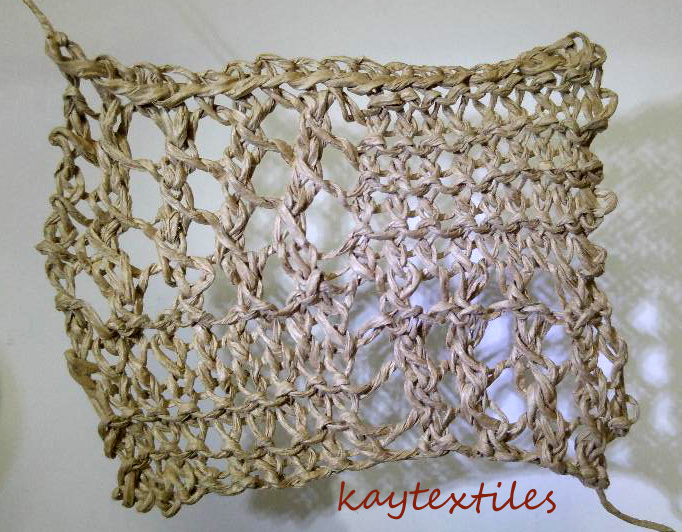
- needlelace buttonhole net
- screwcup washer covered closely with blanket stitch held in place over metal cap
- couronne ring made on ring stick covered with buttonhole stitch
- herringbone stitch.
MM147 shows the back. In the bottom left you can see where I was overcautious in the number of anchoring stitches need. I became more relaxed about this as the sample continued.
The second silver sample uses flat silver spangles, some of which have been cut into different shapes; aluminium shim; and traditional shisha mirrors. These have been held by:
- couronne rings covered with blanket and belle point de venise cinq point stitches
- square nut covered in symmetrical blanket stitch
- many-sided nut covered in symmetrical blanket stitch
- washers covered in blanket and belle point de venise cinq point stitch
- plastic ring covered in blanket stitch
- needlelace buttonhole net
- screwcup washer covered closely with blanket stitch held in place with herringbone stitch.

In sample MM149 I returned to my gull theme and cut gulls from a tomato purée tube. I tried heating the tube over a candle unsuccessfully as it just covered in soot from the flame. I then tried over the gas on the hob and it had no effect - just producing a strange smell. Too late I read in Stitch, Fibre, Metal and Mixed Media by Alysn Midgelow-Marsden that it is a good idea to know what you are dealing with when it comes to metal and that most metals used for food storage have a plastic covering that when heated will give off fumes that are potentially toxic. So I should have been wearing a face mask and working in a well-ventilated space. Heath and Safety note to self! A second note she gives is that the melting point of pewter, aluminium and tin is much lower than that of copper or brass and when they are placed in a strong heat they will melt. This probably accounts for the fact that when I heated a piece of aluminium shim it just made the surface texture cloudy. Image 145 shows the before and after heating of the shim. She notes it is also advisable to clean metal with detergent before working with it to remove grease from the production process or previous use, which would interfere with the colouring and sealing of the metal. Altogether I didn't have much luck heating metals.

After cutting out gull shapes from the tomato purée tube I marked the soft metal using a fine embossing tool. They were attached to the background using couronne rings covered in blanket and belle point de venise cinq point stitches made from Impex 28 gauge pure copper wire.
MM150 - zooming in on gull held in position by couronne ring covered in belle point de venise cinq point stitch.
MM151 - zooming in on gull held by couronne ring covered in blanket stitch.
For my next sample I used the stitched relief block MM84. Rubbings were taken on teabag paper fragments using a gold Markal Paintstik (MM152).
Using Golden Matt Medium, these fragments were laminated onto a calico background that has been lightly painted with emulsion and then brayered with acrylic paints. This gave a faux chine collé effect (MM153).
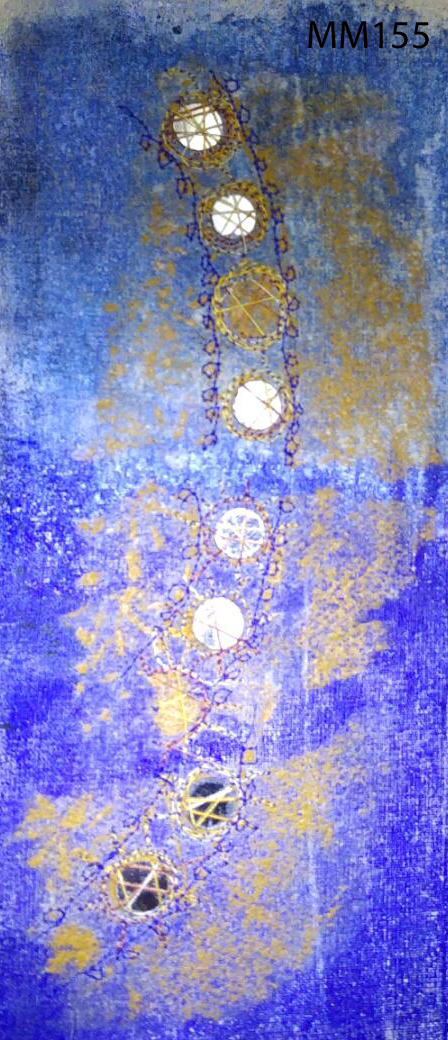
Onto this background I placed traditional shisha mirrors which I held in place by free machine embroidery using Madeira variegated machine embroidery thread (MM154).
Additional stitching was added, again with free machine embroidery using Isacord machine embroidery thread (MM155).
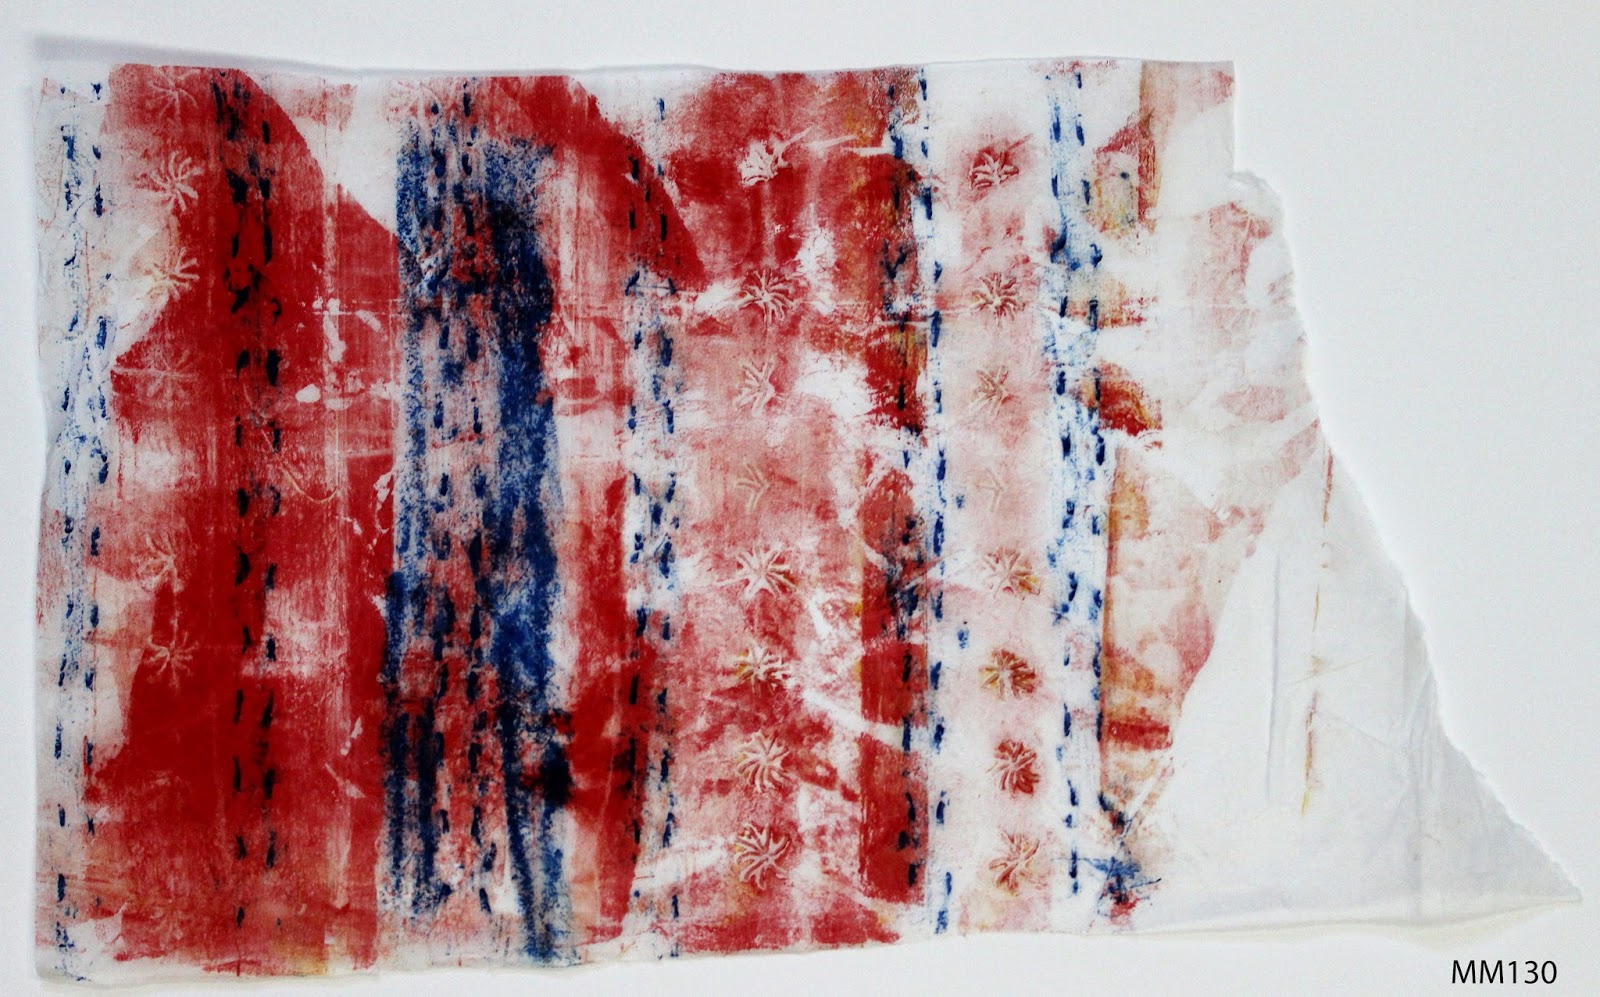
The final sample, MM156, was worked on a print out of MM136. The printer in its wisdom randomly coloured the printout but I went with the flow. I ripped and recombined the printout using paraffin wax. Onto this I free-machine stitched cut pieces of metal foil from a prosecco muselet. Additional free-machine stitching was then added.