
Enjoy the show…
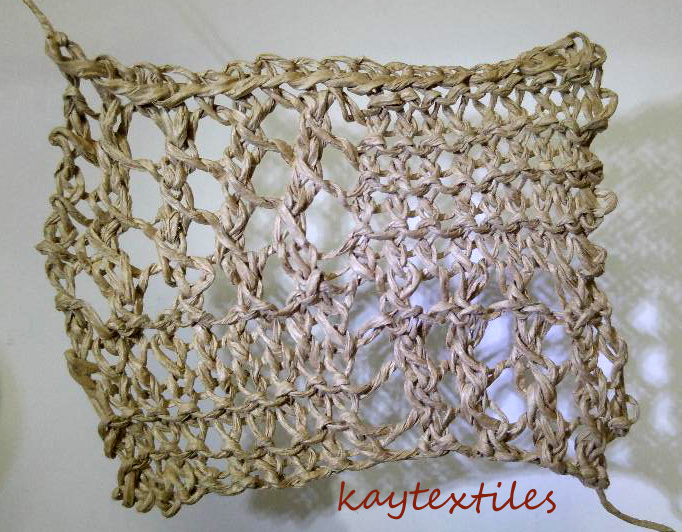
a) Resolved Sample 1 (Image 63)
In interpreting the design from Image 61, the layered effect that the paper weaving had produced was retained. Using pelmet buckram (natural double starched hessian) as a base for stitching, it was painted with Koh-i-noor watercolours and then sections were cut out of the buckram so another layer could be inserted behind (Image 62).

On the buckram a layer of stitching gave a base onto which detail, reflecting the rubbings, was added. Additional stitches and wrapping gave more surface layers/texture.
Whilst working the sample the small sections of green were also cut away, instead inserting an additional green section woven through the gaps.

Resolved Sample 1 - Image 63 - 21x28.5cm
All the ‘base’ stitching was worked in paper of some kind, including:
Samples were produced for the green section from laminated painted tissue paper on garden netting and hessian (both of which would retain the grid structure for canvaswork) using PVA; acrylic wax and PVA; and Golden Matt Medium. The most successful result came from the matt medium on garden netting. When stitching this in place it was manipulated and in some cases folded to add more depth of colour.
The additional two sections layered under the green comprised painted tissue laminated onto interlocking needlepoint canvas using matt medium.
The stitches used for the sample were:
b) Resolved Sample 2 (Image 70)
Returning from the Distant Stitch Summer School with my 4am notes made following two days with Sarah Burgess, a printing technique she demonstrated was used to produce this sample. What an inspiration…thank you!
Calico was painted with white Vinyl Matt Emulsion which, when dry, was torn into strips.

The ‘Amazon’ print block (Taster Module 4 – Image 20) was then revisited and used to print on to East tissue, orange Anthrolpologie tissue, 140g sketchbook paper and the matt-coated calico strips. These were placed on the print block and then rollered using acrylic paint, plus Liquitex Fabric Medium for the calico. Rather than using the whole of the print block, elements were selected from the block and repeat prints taken from these, moving the calico to alter the printing angle to reflect the rubbing patterns in the design source.
The calico produced the most successful marks and when dry these strips were washed with Koh-i-noor in similar colours to the design source (Image 65).

The strips were pinned onto another piece of emulsioned calico which had been rollered on the bottom with grey acrylic. Small rectangles were left between the strips

and into these were placed three small pieces of weaving and patterned darning on plumbers’ scrim.

After experimenting with various positionings of all the elements, the plumbers’ scrim was not used in the final piece.

All the weaving used a warp of 16mm white folded paper yarn (Image 69).

Two pieces of weaving also used this for the weft. These were painted after weaving. The third used my handspun newsprint.
The sample was then hand stitched with various types of yarn and couched paper to emphasize the printing, particularly on the light orange strip.

Resolved Sample 2 – Image 70 – 44.5x76cm.


