Slip Surface
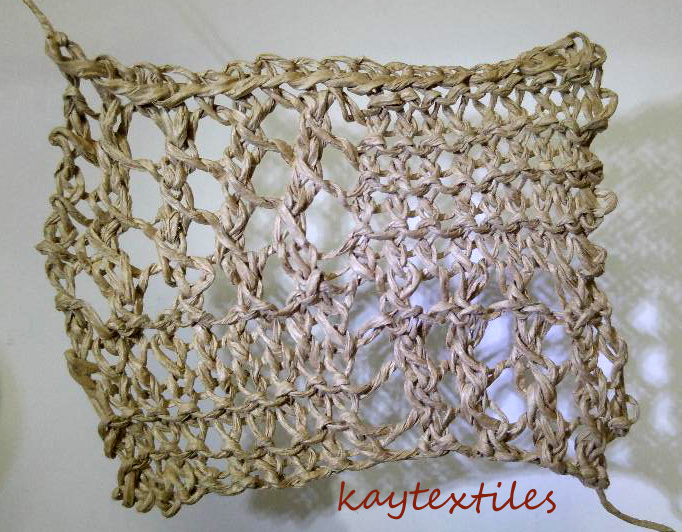
Two slip surfaces were made inspired by the primrose and associated decorated papers, one with mainly natural fibres and the other synthetic.
1. Natural fibre slip surface - a piece of Laura Ashley heavyweight cotton woven Jacquard was covered with the adhesive from a piece of bond-a-web. Small pieces of nylon net, painted habotai silk, sheers, pleated sheers and metallic ribbon were spread over this and then heat bonded in place. On top of this, free machine embroidery helped hold the small pieces in place - 4-117.
2. Synthetic slip surface - textured nylon sheer was covered in synthetic organza. This was then covered with small pieces of fabric as above, plus fragments of lace from an old petticoat. These were all laminated together with watered down PVA on a sheet of plastic. Once dry, free machine embroidery in a free primrose-like pattern helped hold them in place. The lace was painted gold - front 4-118.
Back - 4-119
Before starting to cut the slips from these surfaces, the slip was reduced in size by 20% to 6.75cmW and 11.25cmH. Due to the loss of definition on the top edge of the slip that was attached with jute in Chapter 4, the top was redrawn to emphasize the shape in order to minimise the risk of this happening again and to retain the interest in the slip design. Also, when you use a shape for some time, some detail tends to be lost.
Cutting slips from the Slip Surface
So that cutting the slip from the slip surface could be precise to obtain the maximum interest from the two slip surfaces, I drew round the slip with a Sharpie on a piece of plastic. This was placed on the slip surface and then the card slip positioned and drawn round with a heat removeable biro. This was free machined from the front, in some cases with three rows of stitching and in other cases with one row of stitching to marks the design and then machined from the back, again with more than one row of stitching producing a cable stitch edge. Other edge treatments are given in descriptions of the different slip collages.
More decorated papers and material were made to use as Applied Surfaces in colours that would complement the Slip Surfaces and with more interest to complement the slip. These are detailed in the descriptions of the collages. These were made relatively simple as the slip surfaces were already busy and there was a risk the outcome would be overpowering. An appearance of simplicity wanted to be retained.
4-120 Detail of the back of the natural fibre slip surface with free machined slip shapes.
4-121 The first slip used was given an edging of cinq point de venise (thanks to Jennifer Collier for introducing me to this stitch whilst on a paper dresses workshop at her Unit Twelve Gallery). This was then painted with gold acrylic to give it an Elizabethan richness.
4-122 Applied surface - gelliprinted tissue, the tissue on the right hand side incorporating stitch details from a plate stitched with an Elizabethan double twisted chain stitch edge (see 4-132) and Markal Paintstik rubbing over Elizabethan ladder braid stitch plate. These were attached to wet strength paper with Pritt Stick.
The slip was attached with green back stitch.
4-123 Applied surface - black tissue with Markal Paintstik rubbings - left hand side basket stitch, right hand side plaited braid stitch and middle oven mesh. This was attached to wet strength paper using Pritt Stick.
The slip was attached using yellow paper yarn couched with mercerised cotton. The top of the paper yarn was opened out to give a flower-like appearance.
4-124 Applied surface - black card gelliprinted with green acrylic plus iridescent pearl, edged on both sides with black tissue with Markal Paintstik rubbings from Elizabethan double twisted chain stitch plate. Attached to backing with and then coated in acrylic wax.
The slip with a cable stitch edge was attached with broad chain stitch in yellow/orange variegated flower thread in primrose shapes.
4-125 Applied surface - left hand side - gelliprinted tissue paper using hard plastic plate with plaited edge stitch in plastic yarn and then coated in acrylic wax, right hand side - strip of abaca tissue rubbed with Markal Paintstik over plaited braid stitch plate held in place with acrylic wax underneath which is ghost print from gelliprinted tissue using plate with primrose shape cut from hard plastic and edged with cinq point de venise, centre - hand-made silk paper from cocoon strippings.
The slip was edged with yellow paper yarn and green beads and attached with running stitch.
4-126 Slip edged in Elizabethan double twisted chain stitch in yellow paper yarn which gave it a 3D/sculptural mind of its own.
4-127 Applied surface - photocopy on wet strength paper of background in 4-112 with the addition of strip of distressed silk paper.
The slip was attached over 3 layers of stepped felt to help keep 3D shape using running stitch.
4-128
Detail 4-127.
4-129 Applied surface - left and right hand side - acrylic painted American muslin, centre - gelliprinted rice paper.
The slip was edged with plaited edge stitch and held in place with acrylic painted fabric buttons. Additional decoration - natural fibre composite fabric buttons on left hand side.
4-130 Applied surface - left and right hand side - American muslin painted with acrylic with Markal Paintstik rubbing on abaca tissue on right hand side held in place with acrylic wax. White wet the edges of the abaca tissue were merged with the fabric below using the tip of a needle.
The slip was attached with overcast stitch.
4-131 Two slips were cut from the composite synthetic fabric slip surface with a fine pointed soldering iron. One of the slips had been stitched to mark the shape of the slip, as detailed above. The shape of the other slip was drawn using a heat removeable biro which disappeared with the heat from the soldering iron. This slip was obviously a little smaller than the machined ones.
Health and Safety
- the slips were burnt outside to prevent inhaling fumes
- the composite fabric to be cut was placed on a wire cooling rack and pliers were used to hold the fabric to minimise the risk of burning myself
- the soldering iron was kept in an upturned terracotta pot when not in use
- there was a double check at end to make sure soldering iron was unplugged.
4--132
Additional masks/stencils were made to add interest to the gelli plates. Some of these were used for the Applied Surfaces already detailed.
4-133 Applied Surface - left to right - gelliprinted rice paper using plastic lace stencil, distressed silk paper, gelliprinted American muslin using plastic mask with cinq point de venise stitched edging. These were laminated together with dilute PVA on a sheet of plastic.
Note the silk paper lost is lustre and would have been better held with acrylic wax or Pritt Stick until machine.
The smaller slip on the left hand side was cut from the synthetic slip surface without edging stitches. No stitching was needed as this combination of materials didn't fray. The main slip had a gold cable stitch edge and free machined five petalled cable stitched flowers inside.
The slips were attached with free machine embroidery again with five petalled flowers.
4-134 Applied surface - left to right - American muslin painted with acrylic and then rubbed over plaited braid stitch plate with gold Markal Paintstik; gelliprinted surface with tissue rubbed over the same plate. This was attached with acrylic wax which gave it transparency.
The slip had a gold free machined edge and is held in place with lines of gold back stitch. Prior to stitching the holes were made with an unthreaded sewing machine with stitch length 5.
4-135 Applied surface - left to right - gelliprinted tissue; wet strength gelliprinted paper applied to black card with acrylic wax. Once attached coated with acrylic wax.
The slip was cut with soldering iron and has a with free machined edge. It was attached with manipulated net held in place with seeding stitches.
4-136
Applied surface - left to right - gelliprinted wet strength paper: gelliprinted rice paper. These were applied to American muslin with acrylic wax. A coating of wax was then given and an additional gelliprinted tissue 'primrose' was attached in the centre.The synthetic slip was edged in small blanket stitches and then attached using larger blanket stitches. The centre of tissue 'primrose' was also given blanket stitch detail.
4-137
Applied surface - layered and frayed calico monoprinted with acrylic.
The main synthetic slip was cut out with a soldering iron.
All slips were attached with random cross stitches with variegated flower threads.